How to Turn on a Blue Light Filter in Windows 11
Improve your sleep and reduce eye strain with a blue light filter on your PC. Learn how to use Windows 11's built-in Night Light, or get f.lux for gradual, automatic filtering.

Blue light from devices can negatively affect your sleep. It can make it harder to fall asleep, cause you to wake up feeling less rested, as well as cause excessive eye strain. It's even been linked to skin damage.
The good news is—you can quickly & easily address this!
We’ll introduce tools designed to reduce your blue light exposure on Windows 11 (and Windows 10) laptops & desktops—an ‘basic’ option, and an ‘advanced’ one—and then we'll walk you through how to enable and use each.
- [Easy] Night Light (built into Windows 11 and 10)
- [Advanced ] fl.ux (free app from a third-party developer)
Windows Night Light
Windows 11 includes a blue light filter (i.e. built-in and free!), called Night Light. When you turn on Night Light, your screen will look 'yellowish' - because it is reducing the amount of blue light your eyes are exposed to.
- Night Light has just two modes: On or Off.
- You can adjust how much blue light is filtered when Night Light is on, via a “Strength” (intensity) slider.
- You can turn it On or Off manually at any time - with just a button click.
Or you can set a Schedule, so it will automatically turn On and Off at specific times every day:
- Automatic: it will turn On at Sunset, and Off at Sunrise (based on your device’s location).
- Custom: you can set your preferred times for Night Light to be On and Off.
Step by step
Go to Settings > System > Display > Night Light.
- Or, more simply, ⊞ Win > type ‘Night Light’

Click “Turn on now” to enable the Night Light (i.e. enable blue light filtering).
- Click the button again to turn it off.
- Drag the “Strength” slider to adjust the color - i.e. how much blue light is filtered.
- Turn On / Off the “Schedule night light” toggle, then choose either the auto schedule (Sunset to Sunrise) or a custom schedule (Set hours).

That’s it!
f.lux
f.lux (https://justgetflux.com) is another option for filtering blue light to improve sleep quality & reduce eyestrain. It’s a bit more advanced than Windows 11’s Night Light feature.
It’s a free app for personal use (donations are welcomed), made by an independent developer. Once installed, it runs in the background of your computer and automatically adjusts the color of your screen based on the time of day.
- In the morning, f.lux makes the color of your computer's screen look like sunlight.
- In the evening, f.lux makes the color of your computer's screen look like your indoor lights.
Unlike Night Light (which is either ‘on’ or ‘off’), f.lux gradually adjusts your screen’s color throughout the day.
- This means that more blue light is filtered late at night than at sunset, and more blue light is filtered at sunset than in the morning.
Step by step
Go to the official f.lux website (https://justgetflux.com) > click "Download f.lux".

When the download finishes, open it (i.e. the installer: flux-setup.exe), and follow the installation instructions.

Once the installation finishes, the small app window will appear at the bottom of your screen.
- It will come with a few defaults. (In my case, I didn’t need to adjust anything.)
- Here you can adjust the color ‘temperature’ (~ amount of blue light that’s filtered), the temperature ‘profile’ (i.e. curve over time), and your earliest typical wake-up time.
- Use the navigation menu in the top corner (aka ‘hamburger’ button) to access more settings & options.

That’s it! The next few steps are just to be thorough….
Once this window is closed, f.lux will continue running in the background. You can access it again from the app icon located in the ‘system tray’ (i.e. on the far side of the Taskbar).
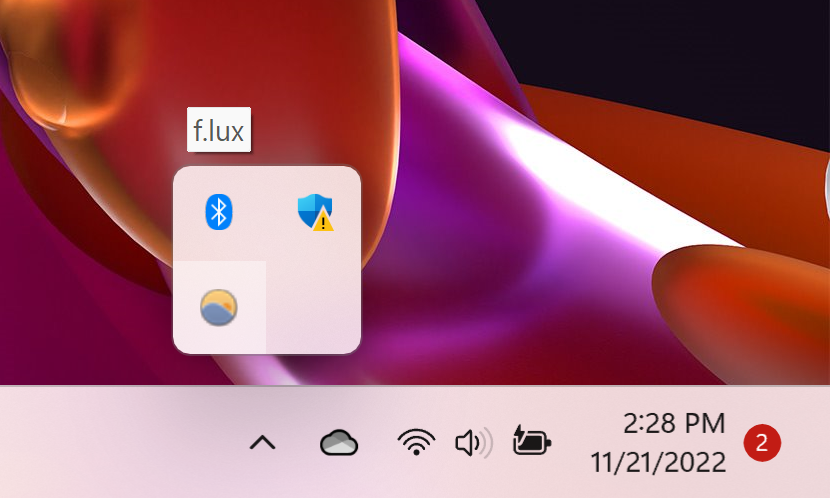
Left-click the icon to reopen the app window. Or, right-click the icon to access the options & settings.
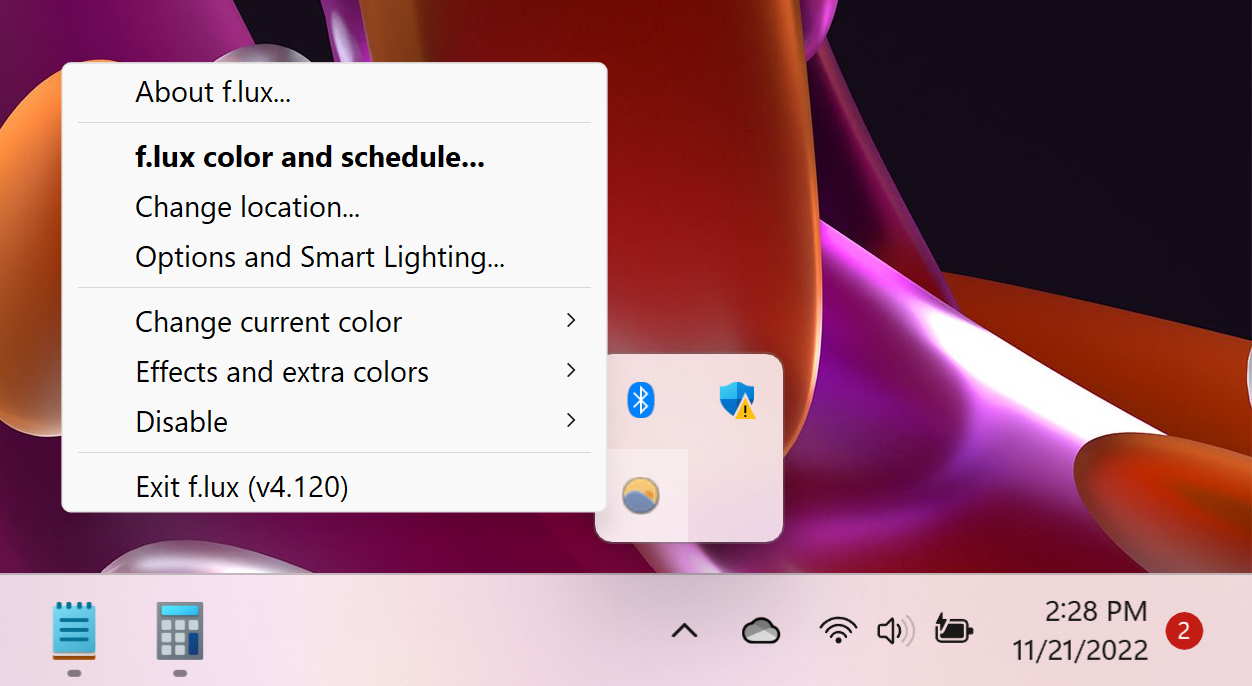
f.lux has a few more settings & options that you might find useful:
- You can specify - i.e. manually choose - specific color profiles (themes) at any given time. This is useful if, let’s say, you need to work extra late in the evening one day.
- You can customize your wake-up time (or have it default based on sunrise time in your current city/location).
- You can manually tweak the color profiles for (a) daytime, (b) midday, and (c) nighttime, and fine-tune other color options.
- You can enable other ‘color modes’, such as grayscale, movie mode, etc.
- Another fantastic option available with f.lux—which I really like & highly recommend—is to automatically change Windows to ‘dark mode’ at sunset (and ‘light mode’ at sunrise).
Final tips!
Windows Night Light and f.lux, are two great options to reduce blue light exposure on your eyes, help improve your sleep quality, and generally reduce eyestrain. For anyone who works frequently and/or for long durations on any device with a screen (PC, laptop, phone, tablet, etc.), this is very helpful in supporting your general wellness.
If you look beyond these two choices, there are other good options I didn’t cover, such as CareUEyes (https://care-eyes.com) which has even more capabilities than f.lux, including a free version that supports automatic screen brightness adjustments (daytime/nighttime), and paid versions (starting from $2/month) with progressively more capabilities.
So, going beyond Night Light and f.lux, here are a few more things you can do:
Reduce screen brightness based on the amount of ambient light.
- You can do this manually, or use other software to do this automatically (such as CareUEyes, as mentioned).
Follow the “20, 20, 20” rule.
- Every 20 minutes, look at something at least 20 feet away for at least 20 seconds.
- You can set your own reminders (or mentally), or use software to automatically remind you (e.g. CareUEyes Pro+).
Voilà! We hope that you found this guide helpful. As always, please drop questions, feedback, and more tips in the comments. Thanks!
- Josta Tech