How to Rename Your Device in Windows 11
Give your Windows 11 device a more meaningful name to personalize it and organize your network.

How to rename devide windows 11
Are you tired of your device being called "DESKTOP-ABC123" or some other generic name? Or perhaps you have multiple devices and want to give them more descriptive names to keep track of them better. Whatever the reason, renaming your computer in Windows 11 is a simple process that can be completed in just a few steps.
Here's how to do it:
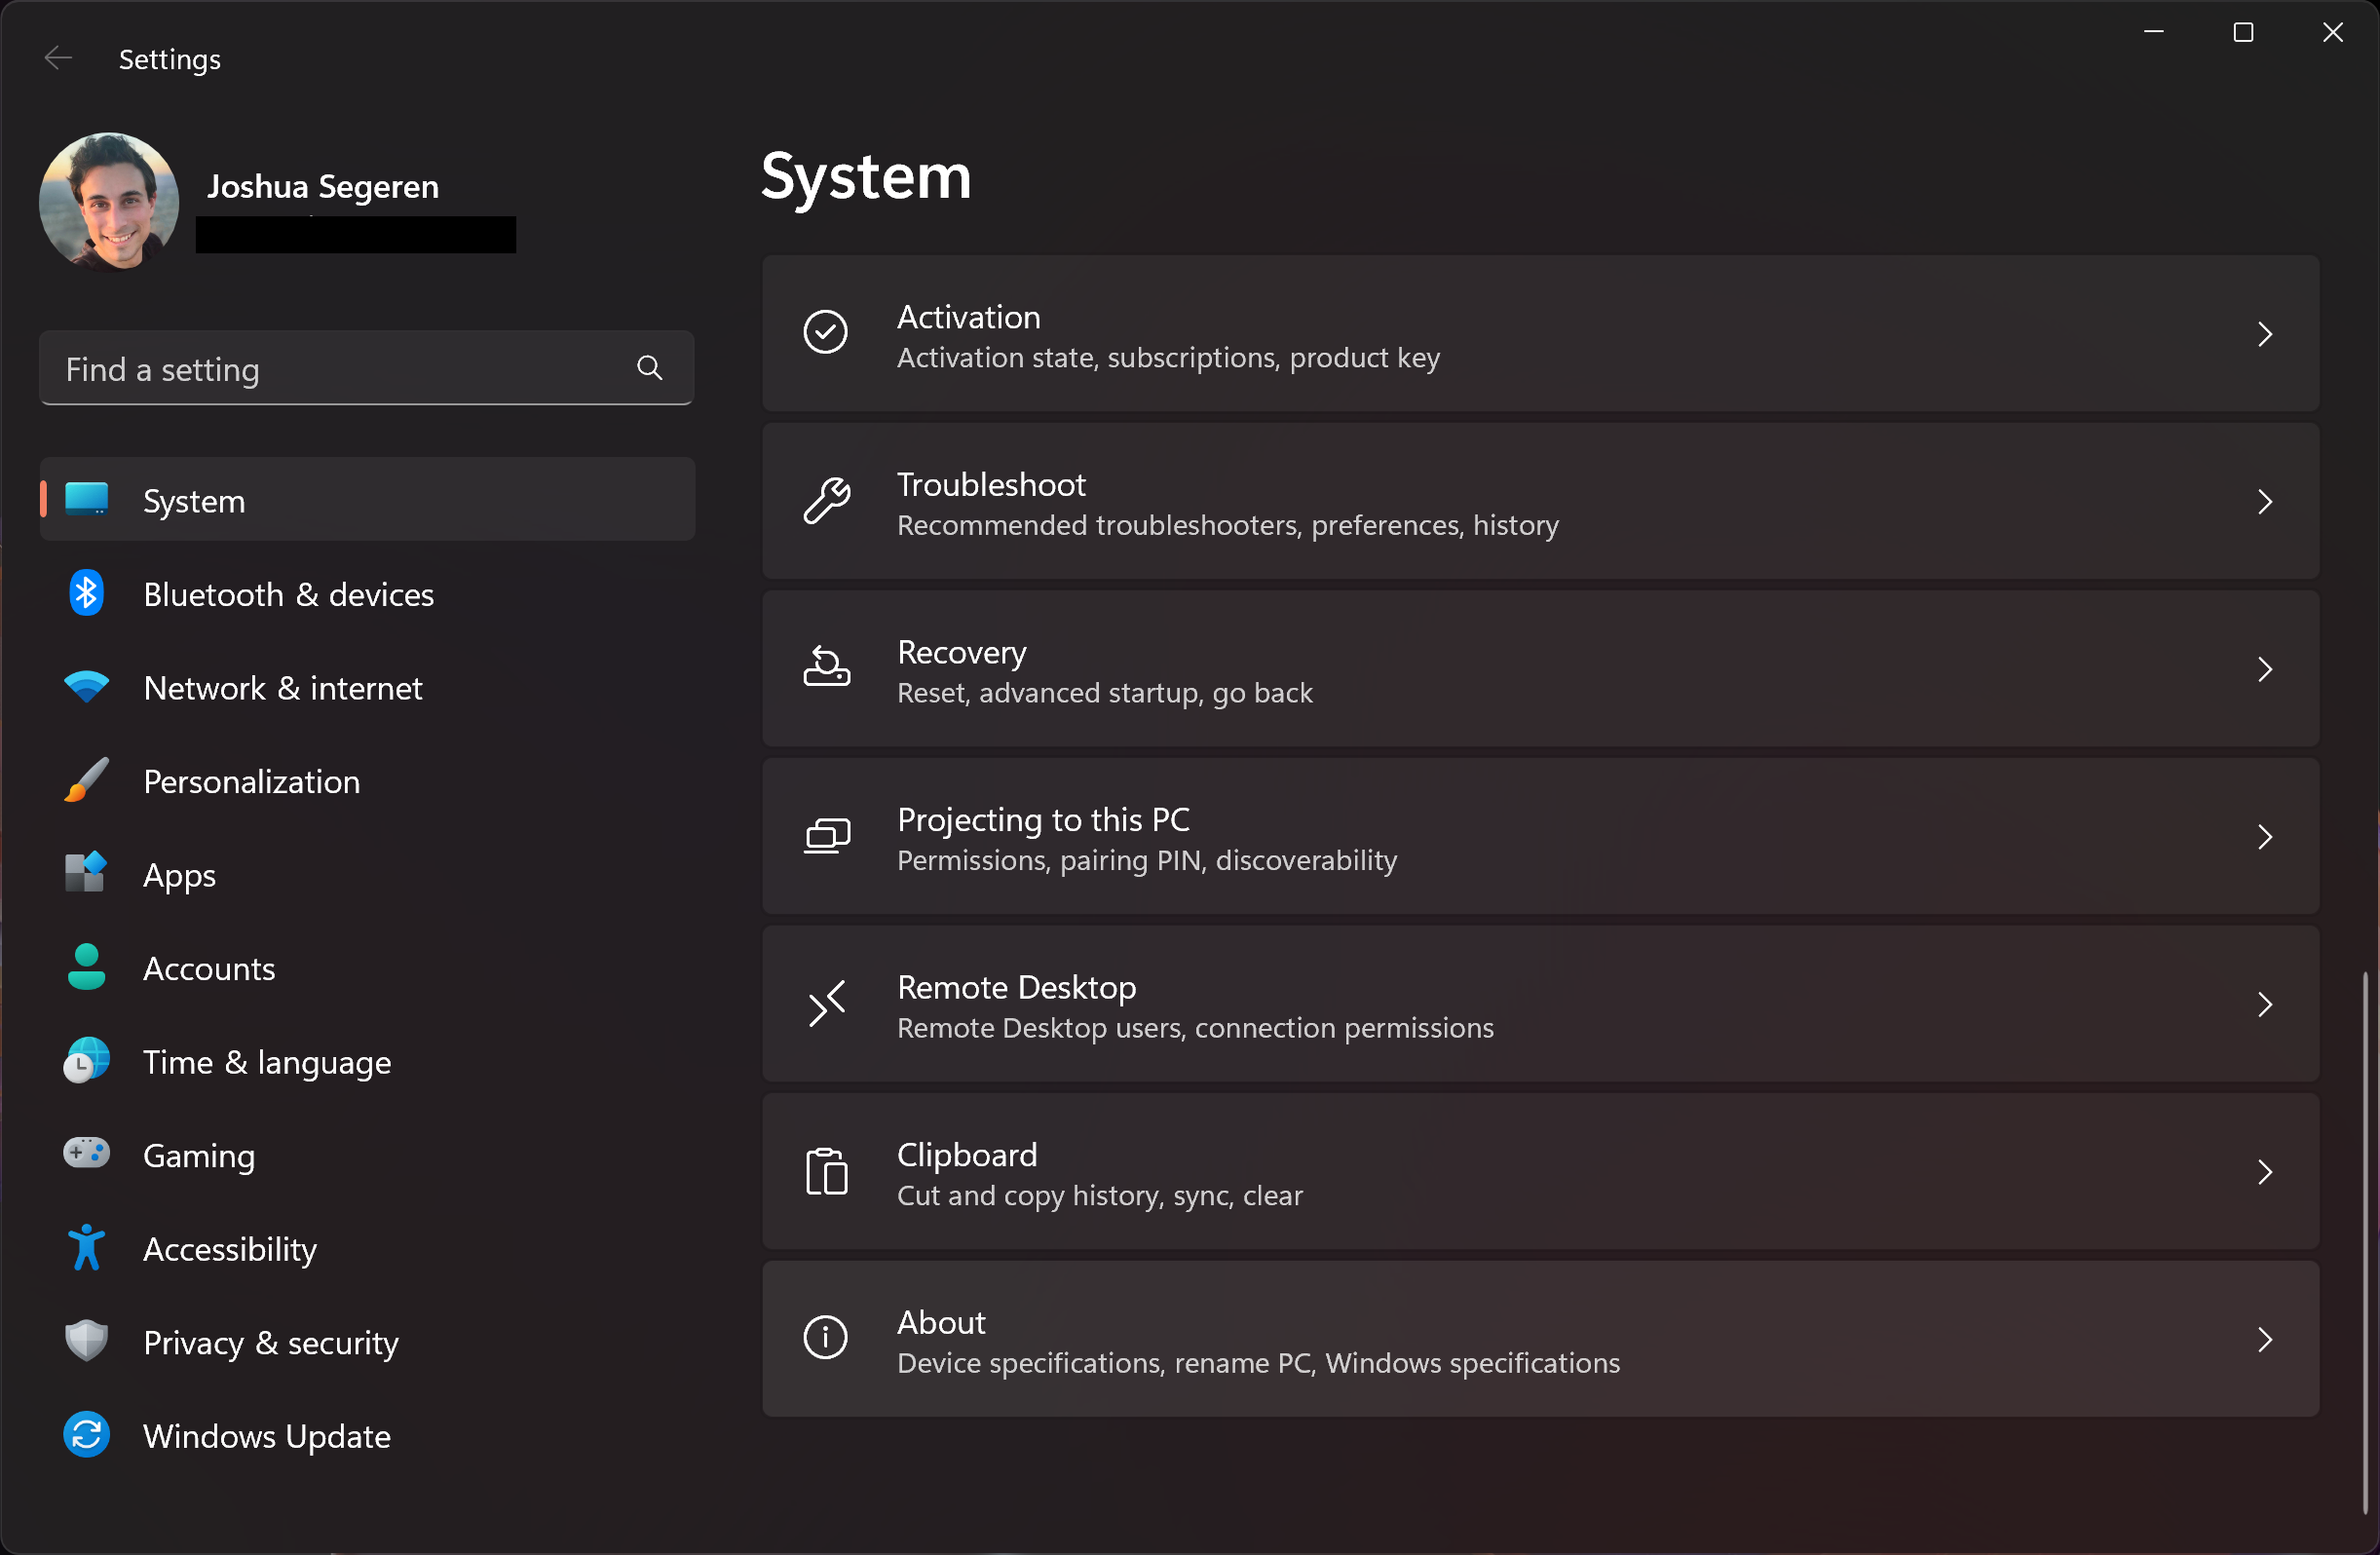
- Open the Start menu and click on the "Settings" gear icon.
- In the Settings window, click on "System" on the left side.
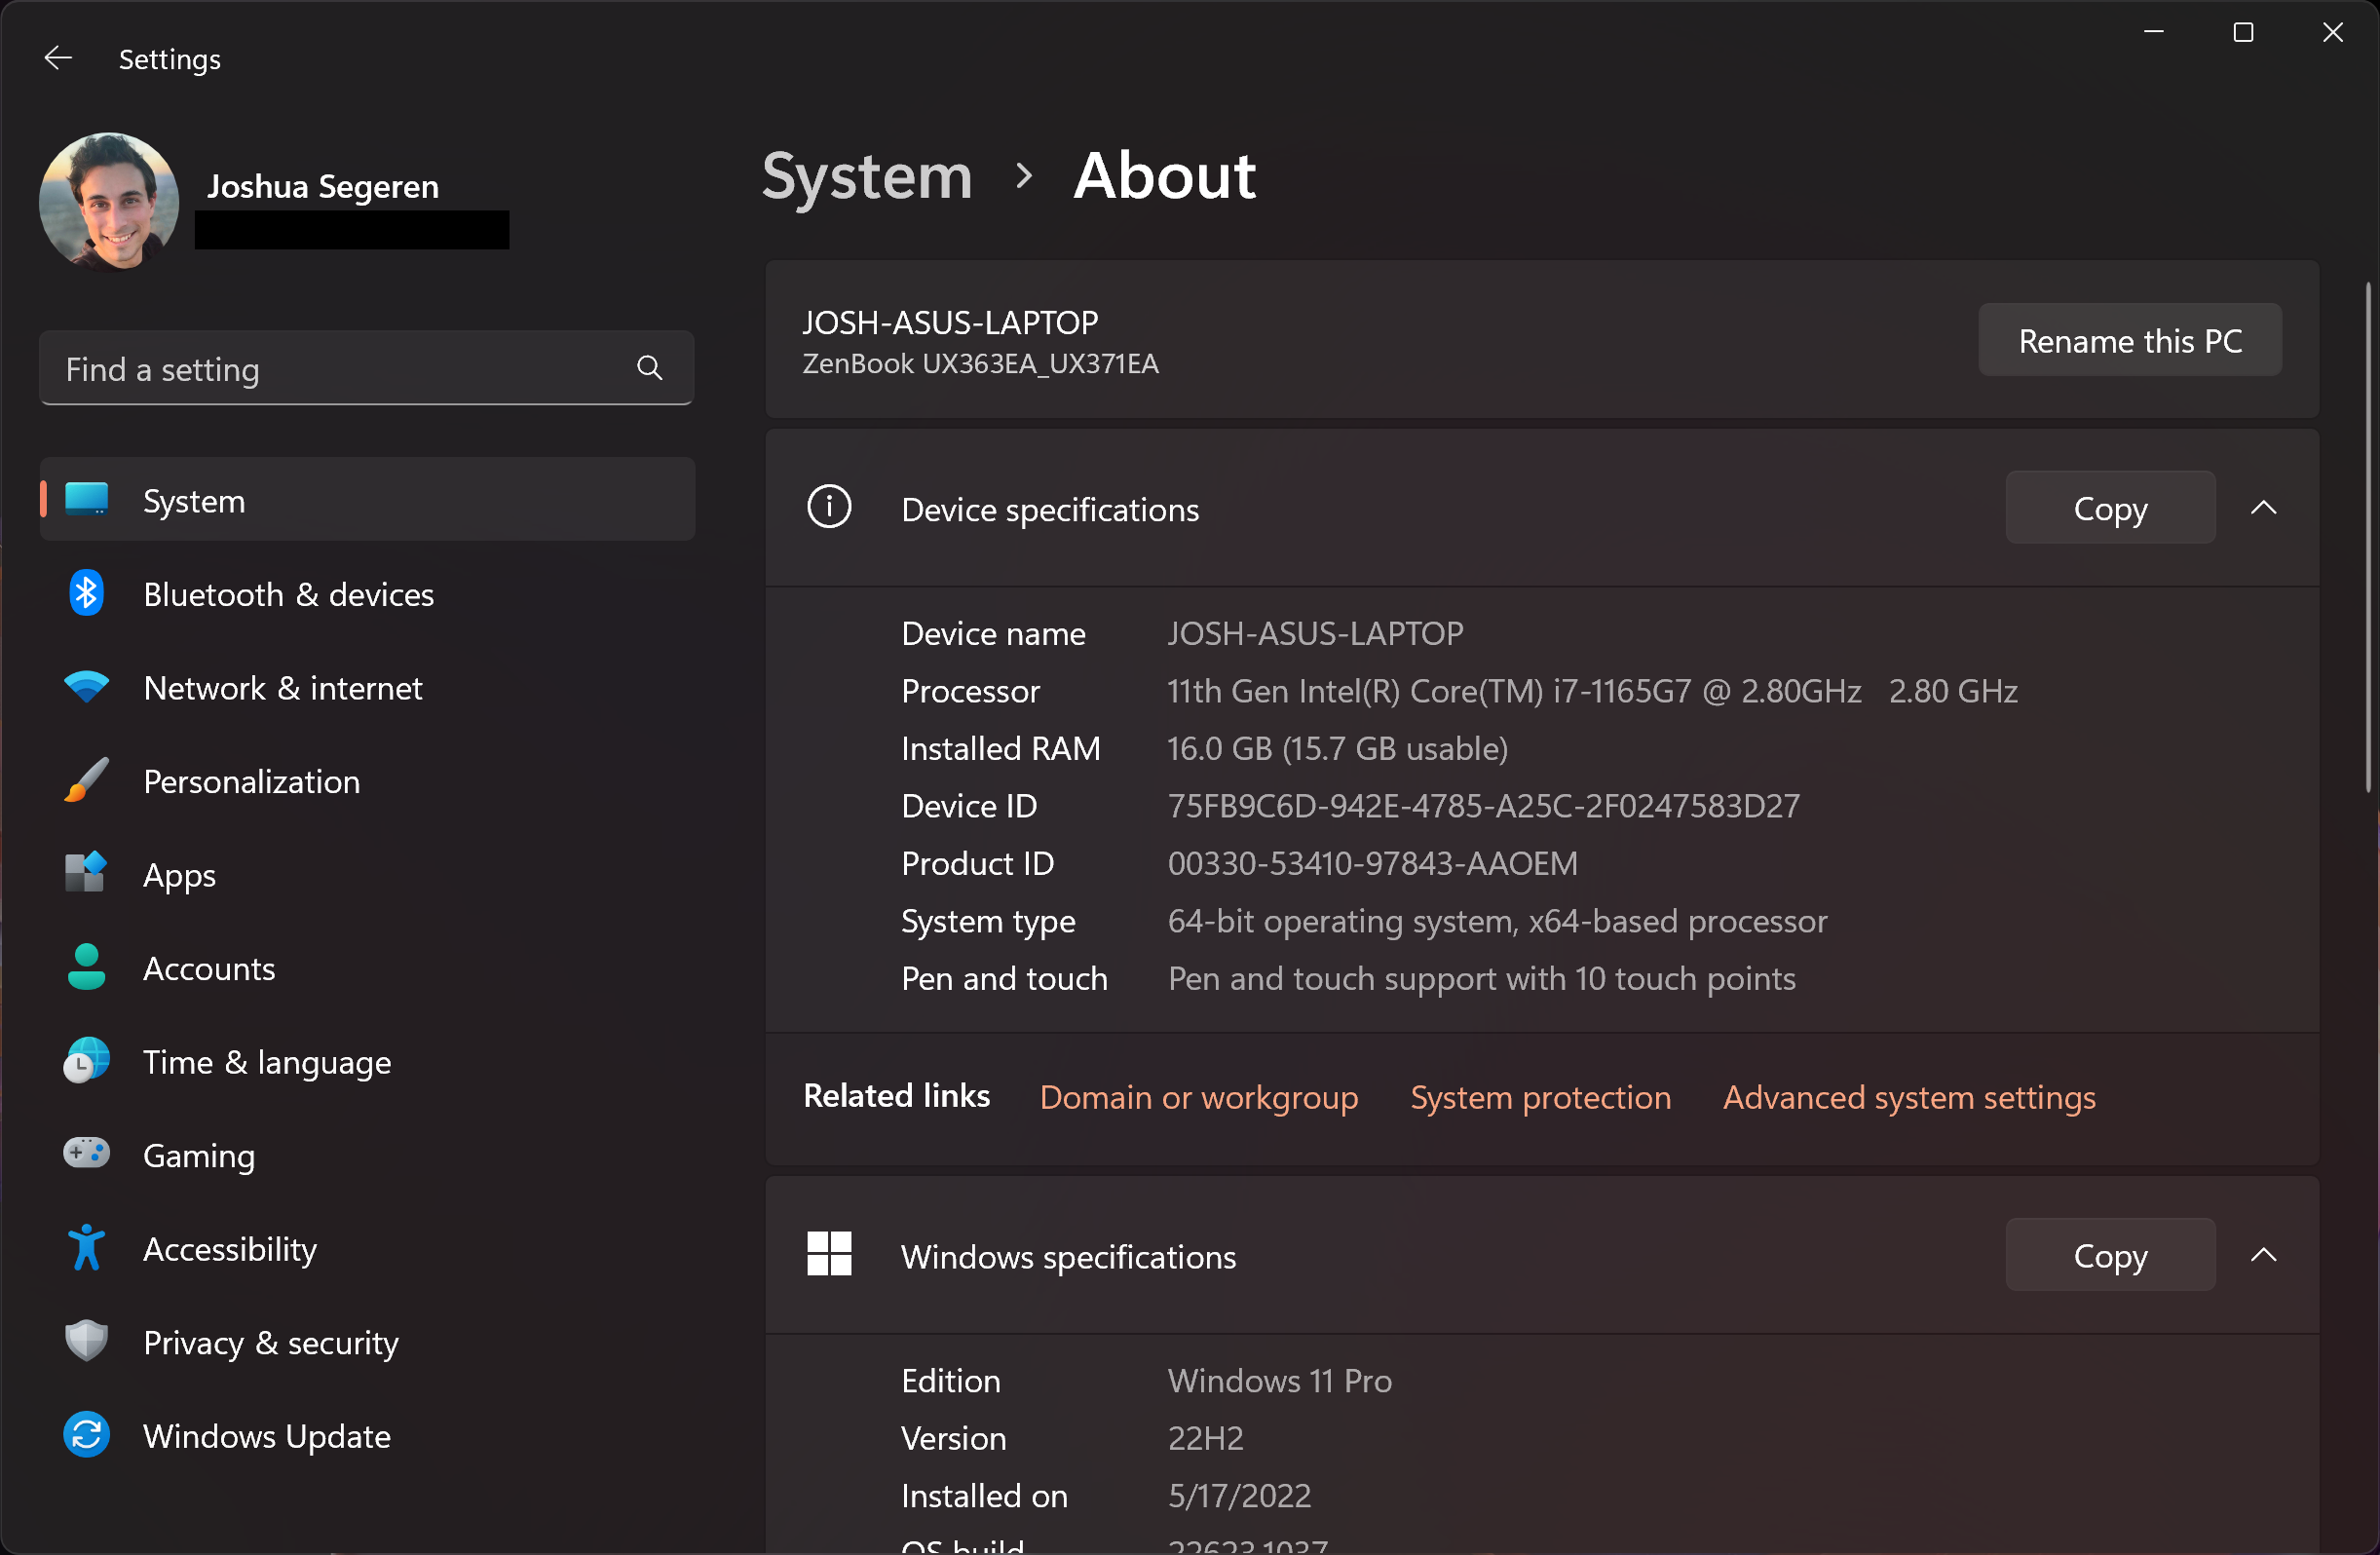
- Under the "About" section on the right side, click on "Rename this PC".
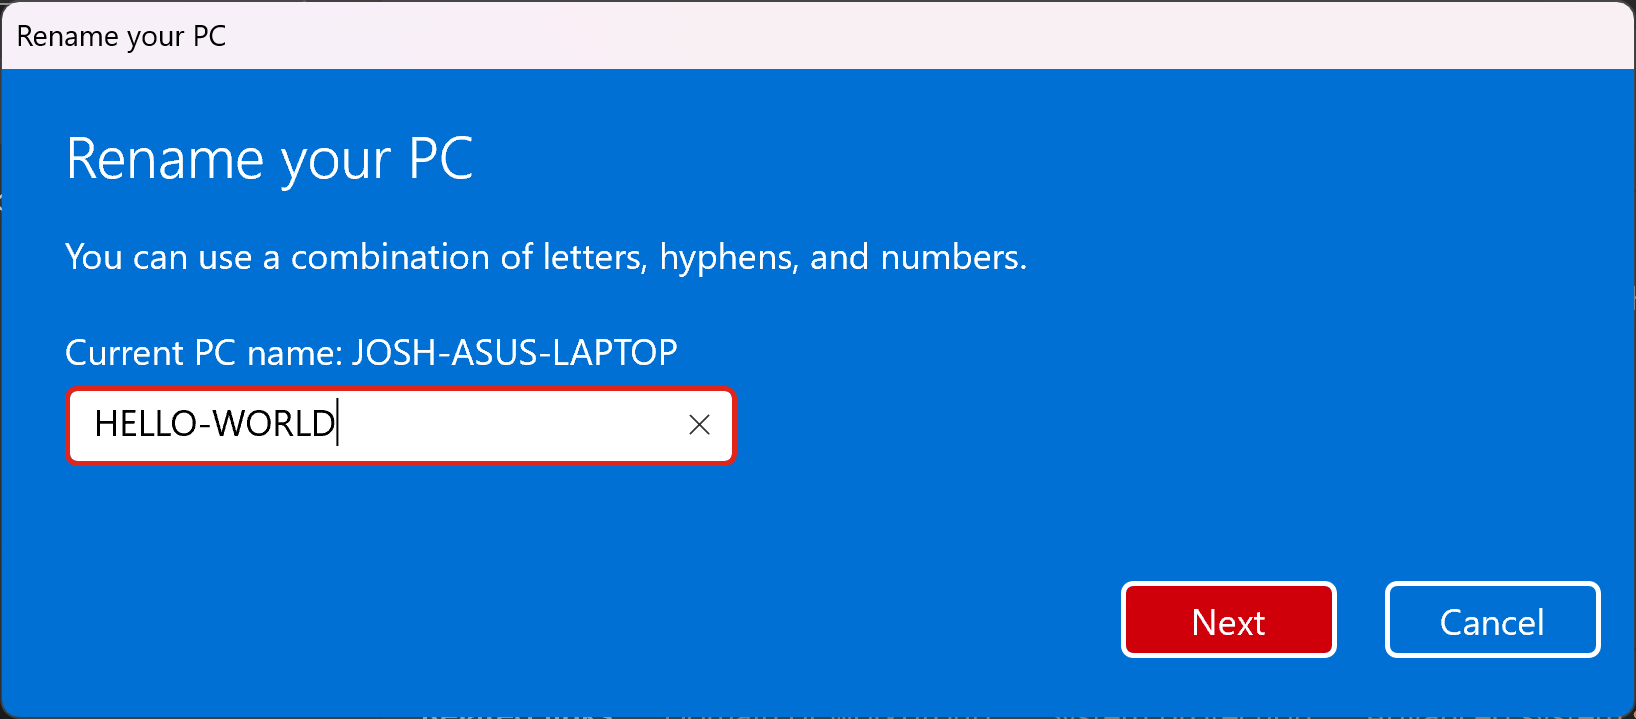
- In the "Rename this PC" window, enter the new name for your device in the "PC name" field.
- Click on "Next" to continue.
- If you have multiple user accounts on your device, you will be asked if you want to rename the device for all users or just the current user. Choose the option that best fits your needs.
- Click on "Finish" to complete the process.
That's it! Your device will now be renamed to the new name you specified. Keep in mind that this change may not be reflected immediately in all areas of your device, as some applications and services may need to be restarted for the new name to take effect. If possible, restart your computer so that the new PC name can fully take effect.
We hope this tutorial was helpful and you were able to successfully rename your device in Windows 11. If you have any questions or need further assistance, feel free to leave a comment below.